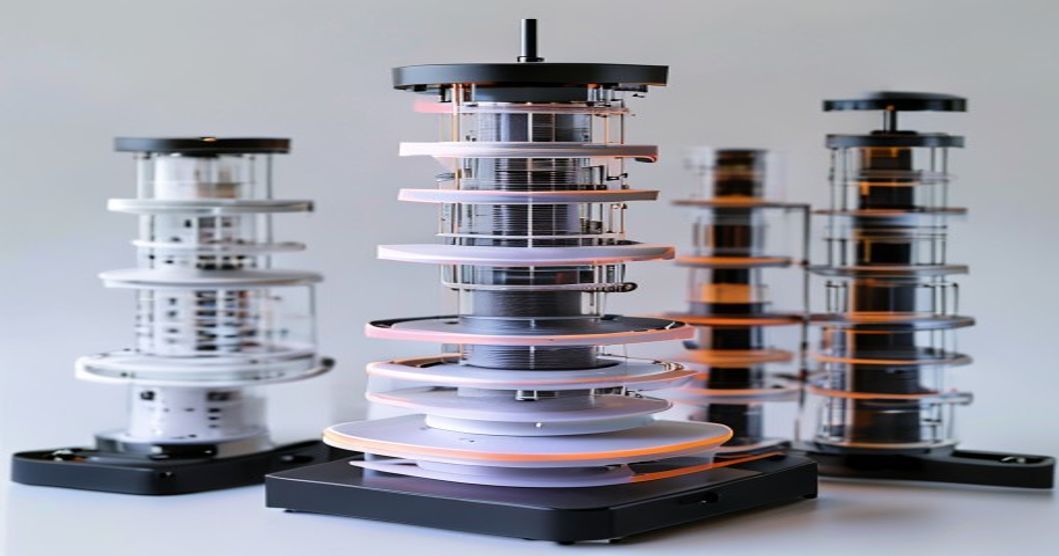
If the calibration cube tells you that your printer is dimensionally accurate, it tells you nothing about whether your prints will stick, flow smoothly, or bond between layers. Dimensional accuracy is just one piece of the calibration puzzle. The other critical parameters — temperature, retraction, flow rate, and accel/jerk — require different test prints and tuning procedures. This guide moves beyond the basic cube to comprehensive printer calibration.
Limitations of the Basic Calibration Cube
The calibration cube only verifies axis scaling. It reveals nothing about:
- First-layer adhesion strength
- Interlayer bonding quality
- Optimal extrusion temperature
- Retraction settings
- Acceleration and jerk limits
- Flow rate accuracy
- Cooling requirements
You can have a perfectly dimensioned cube from a printer producing weak, porous, stringy prints. Comprehensive calibration requires running additional test prints to optimize each parameter.
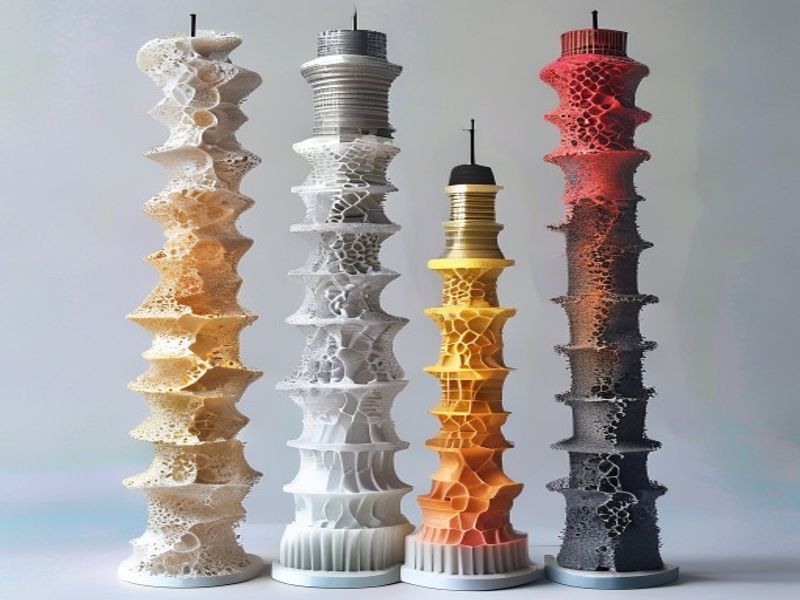
Temperature Tower Calibration
Finding the optimal nozzle temperature is the most impactful calibration step. A temperature tower tests multiple temperatures in a single print:
- Use a temperature tower model (or design your own with 10°C steps from 190-240°C)
- Print with the same settings throughout (0.2mm layer, 15mm/s base speed)
- Inspect each tier for bridging quality, stringing, and surface finish
- The tier with the best bridging, minimal stringing, and smoothest surface indicates the optimal temperature
For PLA+, run the tower from 200-235°C. For PLA, run from 190-225°C. Mark the temperatures on the tower before printing so you can identify each tier’s conditions afterward.
Retraction Test Calibration
Retraction controls how much filament is pulled back when the nozzle moves between printed areas. Incorrect retraction causes stringing (too little retraction or distance) or mid-print jams (too much retraction or speed). The standard test:
- Print a retraction test model featuring multiple travel moves
- Use your slicer’s retraction test pattern (or print a classic tower with travel moves at different retraction distances)
- Start with retraction distance of 4-6mm and retraction speed of 20-45mm/s
- Visually inspect for stringing between pillars — minimal stringing with no jams indicates good settings
PLA and PLA+ typically require 4-8mm retraction at 25-45mm/s. Adjust in 1mm and 5mm increments respectively. Note that PLA+ usually needs slightly more retraction than standard PLA due to its modified flow characteristics.
Flow Rate and Extrusion Multiplier Calibration
The extrusion multiplier (or flow rate) in your slicer determines how much filament is pushed through the nozzle. Even with perfect steps-per-mm, you may be under-extruding or over-extruding if this value is incorrect.
Calibration method:
- Set extrusion multiplier to 100%
- Print a solid 50mm cube (or use a dedicated flow test)
- Measure the actual wall thickness with calipers
- Calculate corrected multiplier: (measured_wall_thickness ÷ nominal_wall_thickness) = new_multiplier
- Update in slicer and re-test
For 0.4mm nozzles with standard PLA, expect 93-98% extrusion multiplier. For 0.4mm nozzles with PLA+, expect 95-100%. Wider nozzles can require higher multipliers to compensate for the increased filament required.
Linear Advance and Pressure Advance
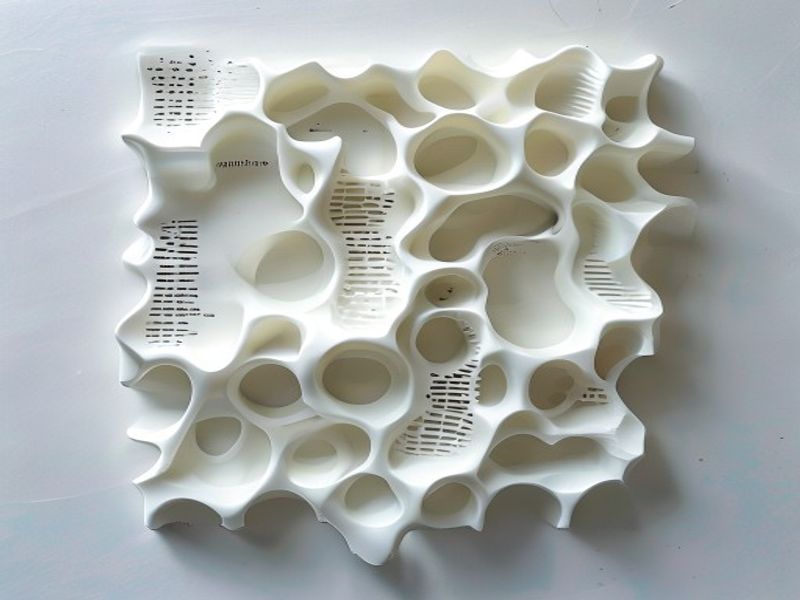
Linear Advance (Marlin) and Pressure Advance (Klipper) compensate for the pressure buildup in the hot end during acceleration and deceleration. Without it, you see blobs at the start of moves and underextrusion at the end of moves.
Calibration involves printing a test pattern with known acceleration changes and adjusting the advance coefficient until the extrusion is uniform across all speeds. This is critical for users printing above 80mm/s. For PLA and PLA+ at typical speeds (40-100mm/s), values of 0.020-0.050 are common starting points. Tune by printing acceleration test towers and looking for consistent extrusion width across speeds.
Building a Complete Calibration Workflow
A comprehensive calibration workflow, from first setup to ongoing tuning, includes these steps in order:
- Initial setup: Belts at proper tension, bed leveled, steps-per-mm calibrated
- First cube: Dimensional accuracy verification (20mm cube within 0.05mm)
- Temperature tuning: Temperature tower for optimal extrusion temperature
- Retraction tuning: Minimize stringing without mid-print jams
- Flow rate: Wall thickness calibration to set extrusion multiplier
- Acceleration: Tune Linear/Pressure Advance for fast printing
- Ongoing: Weekly cube check + per-spool temperature verification
Once fully calibrated, maintain the calibration by printing a quick dimensional check weekly or after any mechanical disturbance. Re-optimize temperature when changing filament brands.
3D 프린팅 및 엔지니어링 플라스틱 용도로 나일론 플라스틱을 선택해야 하는 이유
엔지니어링 플라스틱 분야에서 10년 이상의 경험을 쌓아온 Nylon Plastic은 전 세계 B2B 고객사들에게 고성능 소재를 공급하고 있습니다. 당사의 제품 라인업에는 나일론(PA6, PA66, PA12), POM, PEEK 및 PLA, PLA+, PETG를 포함한 3D 프린팅 필라멘트가 포함됩니다. 모든 제품은 출하 전 직경 공차(±0.03mm), 수분 함량 및 기계적 특성에 대한 검사를 거칩니다.
- ISO 9001 인증을 받은 제조 시설
- 경쟁력 있는 B2B 가격으로 대량 공급
- 재료 선정 및 인쇄 매개변수에 대한 기술 지원
- 여러 물류 센터에서 제공하는 빠른 전 세계 배송
- OEM 프로젝트를 위한 맞춤형 소재 배합 가능
자주 묻는 질문
What is the practical value of Beyond the Calibration Cube: Advanced 3D Printer Calibration Methods?
Beyond the Calibration Cube: Advanced 3D Printer Calibration Methods helps connect material choice, process limits, cost, and application risk before committing to production.
What should be checked first for Beyond the Calibration Cube: Advanced 3D Printer Calibration Methods?
실제 적용 요건, 예상 환경, 생산 수량, 허용 오차 기준, 품질 관리 기대 사항부터 시작하십시오.
What usually causes problems in Beyond the Calibration Cube: Advanced 3D Printer Calibration Methods?
문제는 대개 불명확한 요구사항, 부적합한 자재, 비현실적인 공차, 누락된 검사 기준, 또는 늦게 이루어진 설계 변경에서 비롯됩니다.
How can buyers reduce risk with Beyond the Calibration Cube: Advanced 3D Printer Calibration Methods?
구매자는 견적 제출 전에 도면, 사용 조건, 중요 치수, 목표 수량 및 품질 기대치를 공유함으로써 위험을 줄일 수 있습니다.

