
Infill 이는 여러 대안을 비교하고, 한계를 확인하며, 위험이 적은 공정을 선택해야 할 때 유용한 공학적 주제입니다.
Infill pattern selection affects print strength, weight, speed, and material usage. While many users stick with default settings, understanding pattern characteristics helps optimize prints for specific applications.
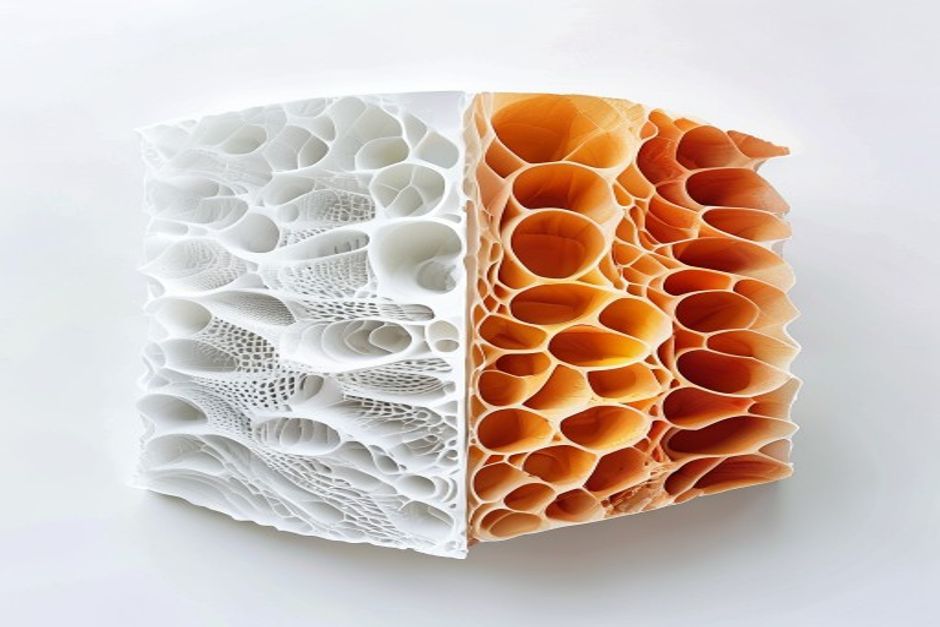
Why Infill Pattern Matters
Infill serves multiple purposes:
- Structural support: Provides internal strength
- Top surface support: Prevents sagging on flat surfaces
- 무게 감소: Varies density without proportional strength loss
- Material savings: Reduces print cost and time
Production applications benefit significantly from optimized infill.
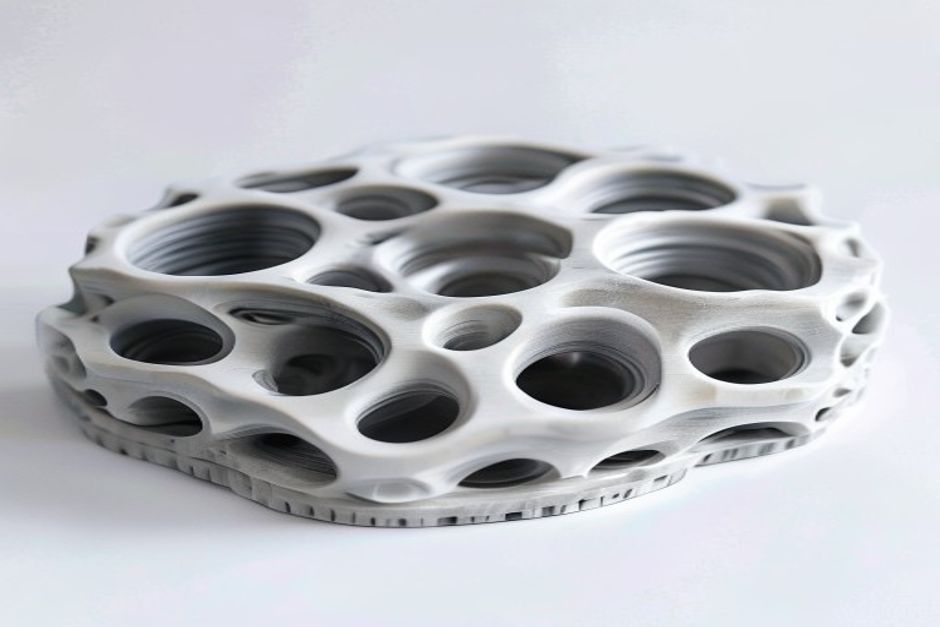
Pattern Comparison
Honeycomb (Hexagonal)
특성:
- Excellent strength-to-weight ratio
- Even stress distribution
- Medium print time
- Good for most applications
가장 적합한 대상: General-purpose functional parts
Glass-filled materials pair well with honeycomb.
Gyroid
특성:
- Superior isotropic strength (equal in all directions)
- Good vibration damping
- Slightly longer print time
- Excellent for load-bearing parts
가장 적합한 대상: Parts with multi-directional loads
Cubic
특성:
- Good strength, slightly anisotropic
- Fast printing
- 인쇄하기 쉬움
- Good for standard applications
가장 적합한 대상: Quick prototypes, non-critical parts
Triangular
특성:
- High strength in specific directions
- Fast printing
- Good for specific load cases
- Directional properties
가장 적합한 대상: Parts with known load direction
Grid/Rectilinear
특성:
- Fastest printing
- Lowest material usage
- Weakest structure
- Good for non-structural parts
가장 적합한 대상: Display models, light-duty applications
Lightning
특성:
- Minimal material usage
- Fast printing
- Weak structure
- Automatic density adjustment
가장 적합한 대상: Top surface support only, not structural
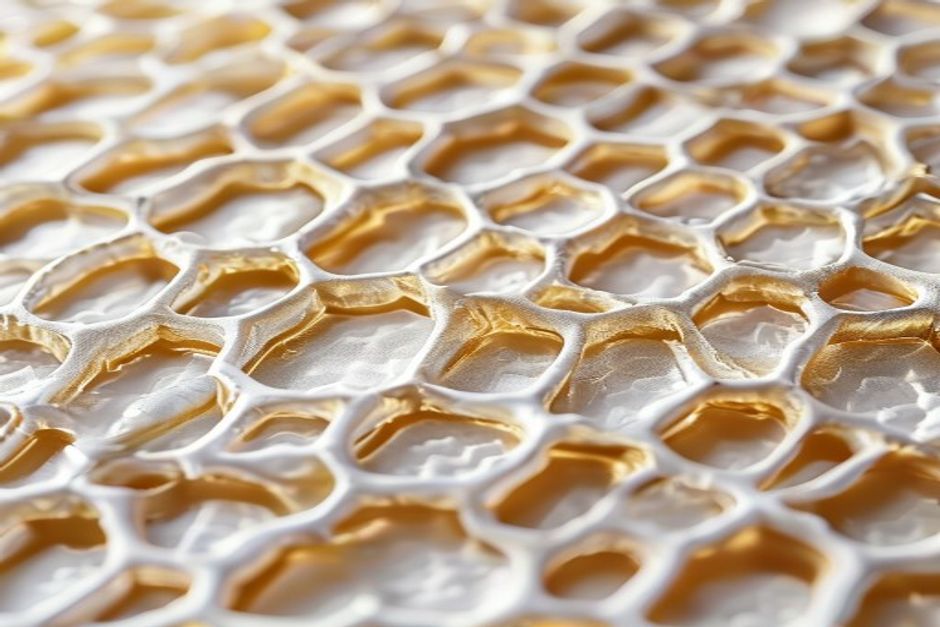
Strength Comparison
| Pattern | Tensile | Compressive | Shear | Isotropy |
|---|---|---|---|---|
| Gyroid | ★★★★★ | ★★★★★ | ★★★★★ | 우수 |
| Honeycomb | ★★★★☆ | ★★★★★ | ★★★★☆ | Good |
| Cubic | ★★★★☆ | ★★★★☆ | ★★★☆☆ | 보통 |
| Triangular | ★★★☆☆ | ★★★★☆ | ★★★★☆ | Poor |
| Grid | ★★☆☆☆ | ★★★☆☆ | ★★☆☆☆ | Poor |
| Lightning | ★☆☆☆☆ | ★★☆☆☆ | ★☆☆☆☆ | 해당 사항 없음 |
Density Recommendations
| 신청 | 밀도 | Pattern |
|---|---|---|
| Display only | 10-15% | Grid |
| Light duty | 15-20% | Cubic |
| 표준 | 20-30% | Honeycomb |
| Functional | 30-50% | Gyroid |
| High strength | 50-80% | Gyroid |
| Solid | 100% | Any |
Speed Impact
Relative print time at 20% infill:
| Pattern | Relative Speed |
|---|---|
| Lightning | 100% (fastest) |
| Grid | 95% |
| Triangular | 90% |
| Cubic | 85% |
| Honeycomb | 75% |
| Gyroid | 70% |
Material costs should factor into pattern selection.
자주 묻는 질문
When is Infill Patterns Explained — Strength, Speed & Material Usage Compared a good option?
Infill Patterns Explained — Strength, Speed & Material Usage Compared is a good option when fast iteration, complex geometry, low tooling cost, or low-volume production is more important than molded-part unit cost.
What should be checked before choosing Infill Patterns Explained — Strength, Speed & Material Usage Compared?
부품 크기, 재료 특성, 표면 마감, 치수 공차, 열 노출, 하중 방향, 후처리가 필요한지 여부를 확인합니다.
How does Infill Patterns Explained — Strength, Speed & Material Usage Compared compare with CNC machining?
3D 프린팅은 복잡한 형상을 빠르게 제작할 수 있는 반면, CNC 가공은 정밀한 표면, 엄격한 공차 및 생산 등급 재료에 더 적합한 경우가 많습니다.
What affects the cost of Infill Patterns Explained — Strength, Speed & Material Usage Compared?
비용은 재료, 빌드 볼륨, 프린트 시간, 레이어 높이, 서포트 제거, 마감, 검사 및 빌드 내 부품 수에 따라 달라집니다.

